
Overview
If you want to build a website or a blog, one of the first things you need do is link your domain to hosting. This crucial step guarantees that customers are sent to the right server where your website’s files are kept when they input your domain name into their browsers. In this we will discuss about how to connect domain with hosting, why it is important to connect, what are the benefits of connecting domain with hosting and so on.
Meaning of Domain and Hosting
Before we go into the process of connecting your domain to hosting, let’s define domain and hosting. A domain is your website’s unique internet address, such as www.yourwebsite.com. Hosting, on the other hand, refers to the server space where your website’s files, data, and content are kept.
Importance of connecting domains with hosting
It is critical to connect your domain with hosting since it allows users to access your website by typing your domain name into their web browsers. Your website would be inaccessible without this link, and your online presence would be buried.
Improved Search Engine Ranking: Custom domains are regarded as more dependable and credible by search engines, resulting in higher search engine ranks. This increases the likelihood of your website showing on the first page of search results, increasing organic traffic.
Custom Email Addresses: When you connect your domain, you may establish custom email addresses based on your domain name (for example, contact@yourwebsite.com). This improves the professionalism of your interactions with clients, customers, or readers.
Control Over Content and Design: When your domain is linked to hosting, you have complete control over the content, design, and operation of your website. This adaptability enables you to personalise your website to your individual needs and interests.
Steps to connect Domain with hosting
Step 1: Choose a hosting provider
- Looking for Hosting Companies
There are several hosting companies accessible, each with their own set of plans and services. It is essential to conduct research and evaluate numerous hosting services in order to choose the one that best meets your demands and budget. - Choosing the Best Hosting Plan
After you’ve decided on a hosting company, thoroughly examine their hosting options. Think about server resources, storage capacity, bandwidth, customer service, and scalability. Choose a package that fits your website’s needs and potential development.
Step 2: Obtain Domain and Hosting Information
- Buying a Domain Name
If you haven’t yet acquired a domain name, now is the moment. Choose a domain name that symbolises your brand, is easy to remember, and accurately describes the content of your website. Buy the domain name from a trustworthy domain registrar. - Obtaining Hosting Account Information
Sign up with the hosting provider and establish an account when you’ve decided on a hosting package. Hosting account credentials will be sent to you through email or through their dashboard. You’ll need this information for the next stages, so keep it secure.
Step 3: DNS Configuration
- Understanding DNS Configuration
DNS (Domain Name System) is in control of transferring the names of domains into IP addresses. This translation permits users to visit websites using simple domain names rather than complicated numerical IP addresses. - Using the Domain Management Pane
Access the domain control panel by logging in to the domain registrar’s website. Look for the DNS configuration or DNS administration option. - Entering Nameservers for Hosting
Locate the option to update nameservers in the DNS administration panel. Insert the nameserver data supplied by your hosting provider. This procedure connects your domain to your hosting account.
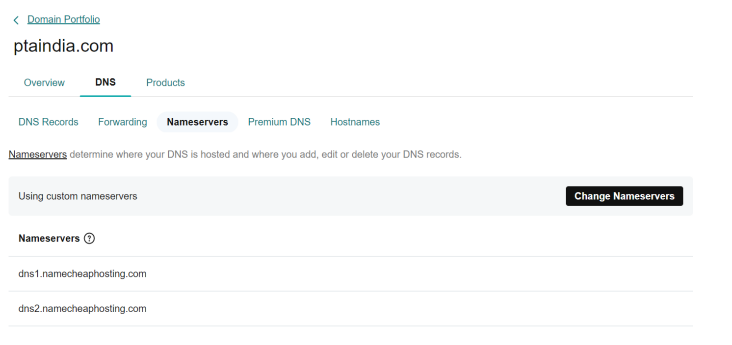
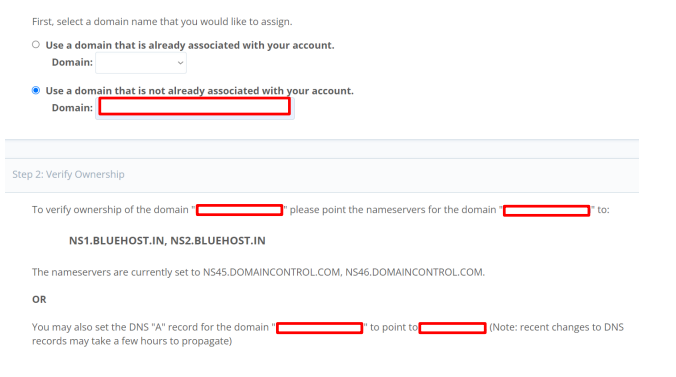
Note: Bluehost Nameserver Name : ns1.bluehost.in, ns2.bluehost.in and Namecheap Nameserver Name : dns1.namecheaphosting.com, dns2.namecheaphosting.com
Step 4: Propagation and Testing
- We are awaiting DNS propagation
The process of updating DNS records across all servers on the internet is known as DNS propagation. This procedure might take anything from a few minutes to 48 hours. During this maintenance, your website may be inaccessible at times. - Checking the Connection
When DNS propagation is complete, use your web browser and enter your domain name. If everything is in order, your website should now be visible. Check that all pages load properly and that the website works as intended.
Step 5: Troubleshooting
- Common Problems and Solutions
Occasionally, problems may happen during the domain and hosting connection process. DNS propagation delays, inaccurate nameserver entries, and misspelt domain names are all typical issues. If you run into any problems, contact your hosting provider’s documentation or customer support.
Here is an example of connecting domain(GoDaddy) with hosting(Bluehost):
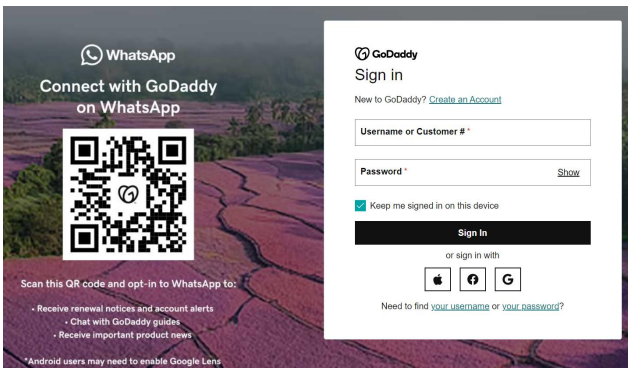
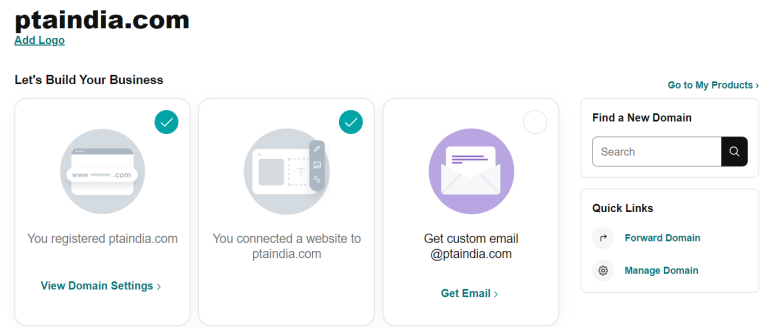
- Access your Domain Registrar Account
- Find DNS Management or Name Server Settings
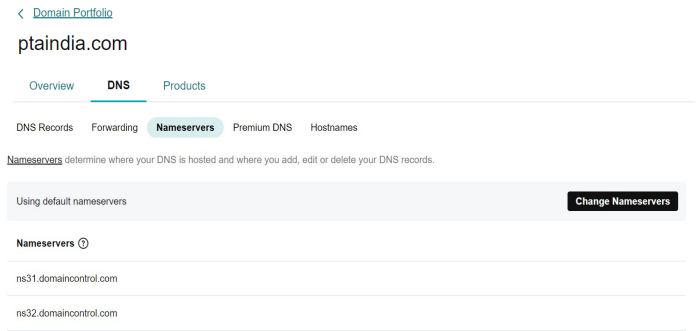
- Find the Name Server Settings
- Update the Name Servers to Your Hosting Provider’s Name Servers
- Update Your Name Servers
- Click Save and you’re done.
- Verify the Connection
- Access your Hosting Registrar Account
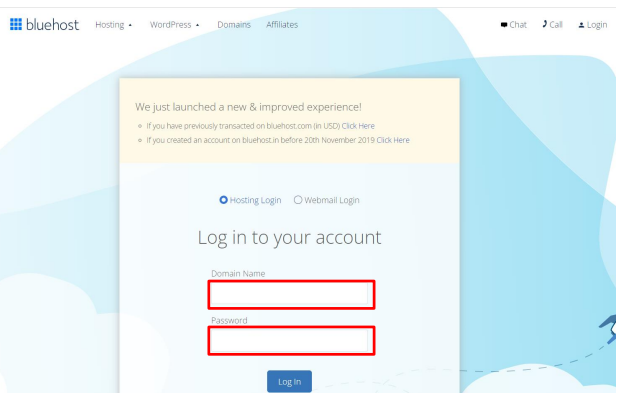
- Log in to your Bluehost panel.
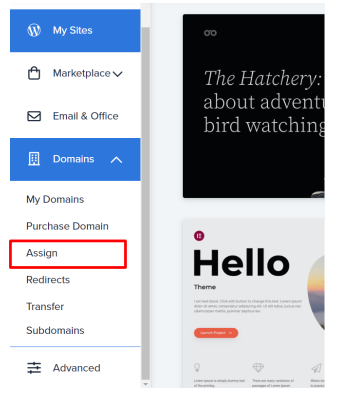
- From the menu, select ‘Domains’. This will open your domains page.
- From the menu, select ‘Assign’.
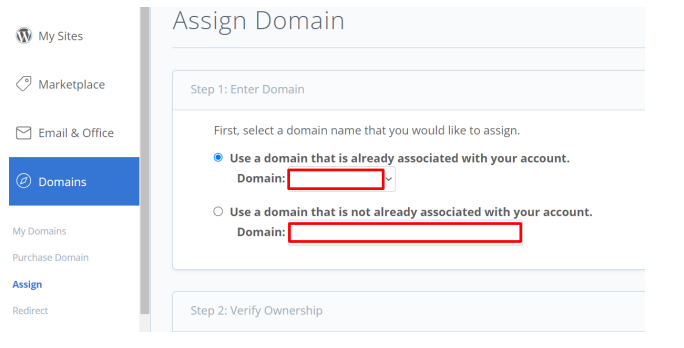
- Once you are on the ‘Assign Domain’ Page, you will see two fields. “Use a domain that is already associated with your account.” An “Use a domain that is not already associated with your account.”
Benefits of connecting a domain with hosting
1.Online Visibility: Connecting your domain with hosting ensures that your website is accessible to users worldwide. When visitors enter your domain name into their browsers, they are directed to your website’s content and data hosted on the server.
2. Brand Identity: A custom domain enhances your brand identity and credibility. It gives your website a professional appearance, making it easier for users to remember and associate with your brand.
3. Personalized Email Addresses: With a connected domain, you can create personalized email addresses using your domain name (e.g., yourname@yourwebsite.com). This enhances professionalism and trustworthiness when communicating with customers or clients.
4. Better Search Engine Ranking: Search engines tend to favor websites with custom domains over generic ones. A connected domain can positively impact your website’s search engine ranking, improving its visibility in search results.
5. Control and Flexibility: Connecting your domain gives you complete control over the content, appearance, and operation of your website. Without relying on third-party systems, you may simply make adjustments and updates.
6. Increased Security: Reputable hosting companies give comprehensive security capabilities to safeguard your website from cyber attacks. SSL certificates and other security features are frequently bundled with hosting plans, assuring secure data transfer and fostering visitor confidence.
Conculsion
Connecting your domain with hosting is a fundamental step in establishing your online presence. By following the outlined steps in this article, you can ensure that your website is accessible to users worldwide. Remember to choose a reliable hosting provider and carefully manage your DNS settings for a seamless connection.